If your blind chain just broke or stopped rolling properly, don’t panic, it happens to almost everyone at some point. The good news? You can usually fix it yourself in under 15 minutes, no tools or fancy skills required.
Whether it is a roller blind chain that has come off track or a window blind chain that feels jammed, you will learn the easiest ways to repair it. For more detailed guidance, you can also read our guide on how to replace a roller blind chain which explains how to handle full replacements safely.
Why Blind Chains Stop Working
Most broken blinds look worse than they really are. Nine times out of ten, it’s a small problem that’s easy to sort out once you know what to look for.
A few usual suspects include:
- The chain has slipped off the gear. A quick tug at the wrong angle can knock the roller blind chain off its teeth.
- The plastic chain cracked. Sunlight and daily use can make those tiny links brittle over time.
- Dust or grit inside the mechanism. The build-up causes stiffness and stops the chain from moving freely.
If your chain has broken completely, you can replace it with a new one that matches your current setup. For help identifying which chain or mechanism you have, visit our guide on types of roller blind mechanisms before buying replacement parts.
Quick Steps to Fix a Broken Blind Chain
Alright, time to get your hands on it. You don’t need to be a handyman just follow these few steps.
- Check what’s gone wrong.
See if the roller blind chain has snapped, jammed, or slipped off. It’s much easier to fix once you know the real issue.
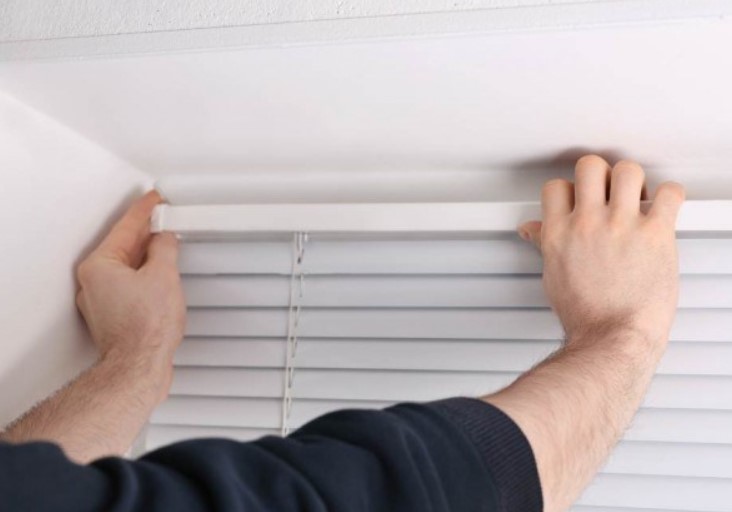
- Take it off the wall (if needed).
You’ll have better access if you remove the blind from its bracket. Lay it flat and keep those little plastic bits safe they love to vanish.
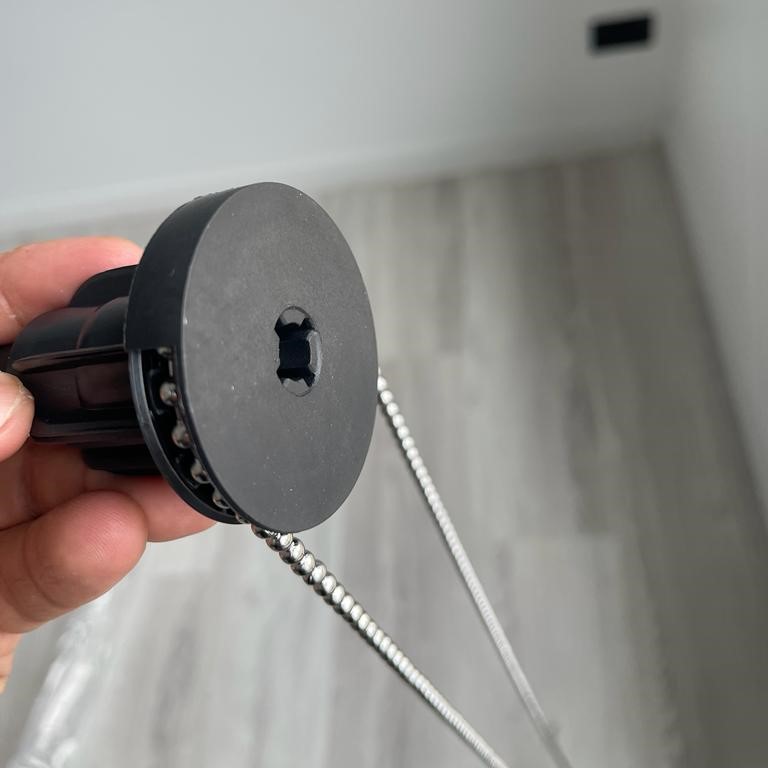
- Re-thread the chain.
If it comes off, slowly guide it back over the gear teeth and test by rolling the blind up and down by hand. It should move freely again.
- Reconnect a snapped chain.
Got a broken chain? Use a roller blind chain joining link to snap the two ends back together. It’s a quick and cheap fix that usually lasts ages.
- Test it gently.
Once you’ve fixed it, give the chain a few light pulls. If it still sticks, check for grime in the mechanism or misaligned parts.
When It’s Better to Replace
Let’s be real, sometimes fixing it over and over just isn’t worth it.
If your roller blind chain keeps breaking, or the roller feels stiff no matter what you do, it’s time to replace it.
Here’s when that makes sense:
- The chain keeps snapping even after fixing.
- The roller mechanism is jammed or uneven.
- The blinds are old and just tired-looking.
Replacing with a new roller blind chain or even upgrading to modern roller blinds is often easier than constant repairs.
A Few Tips to Keep It from Happening Again
Once you’ve sorted it, you’ll want it to stay that way. A few quick habits can keep your blinds in good shape for years:
- Pull the chain slowly and evenly, never in jerks.
- Wipe dust from the control unit every few months.
- Keep harsh sunlight off the plastic chain for blinds where possible, UV rays can weaken it.
If you ever feel like it’s not rolling right, don’t ignore it. Calling a blind repair expert in Melbourne for a quick look can save you a full replacement later.
Final Word
Learning how to fix a broken blind chain is easier than you think. A little patience, a joining link, and a few careful adjustments usually do the trick.
But if you’re short on time or the mechanism’s seen better days, getting help from a professional is your best move. Whether it’s a roller blind chain, a plastic chain for blinds, or a full roller blind replacement, keeping things smooth makes your space look sharper and work better.