Ever tried watching TV while the sun glares at your screen like it’s judging your Netflix choices? Yep, me too.
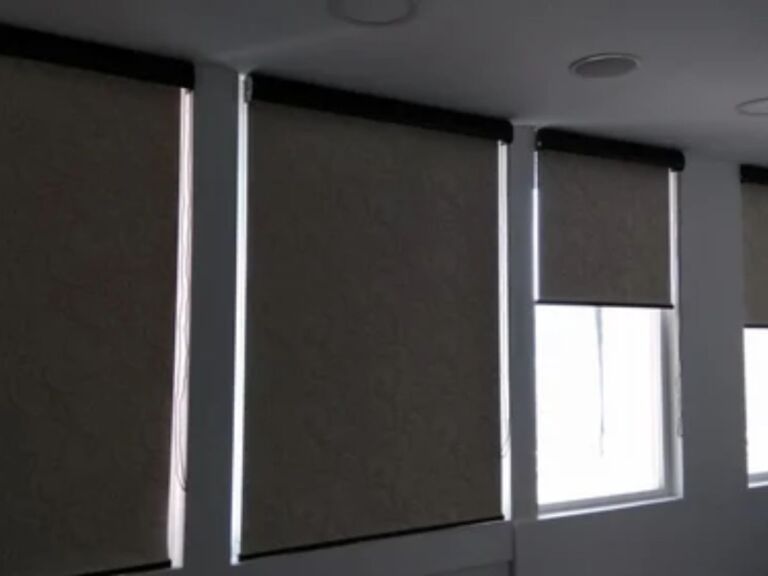
That’s why installing blockout roller blinds is a total game changer.
They don’t just block light.
They give you privacy.
They help with heat.
And they make your home look like it came straight out of a design magazine.
Whether you’re giving your room a glow-up or replacing those tired old blinds, this guide will show you exactly how to install blockout roller blinds with zero fuss.
We’re talking about simple steps. Easy tools and pro tips that even first-time DIYers can handle.
Step 1: Measure Your Window
Why it matters:
Because if you get this wrong, your blind might end up looking like it borrowed someone else’s jeans either too tight or too loose.
How to do it:
- Measure the width of your window at the top, middle, and bottom. Use the smallest measurement for a perfect fit.
- Measure the height from the top of the frame to the sill at three points. Again, take the smallest number.
- Write them down neatly. Double-check before moving on.
Pro tip:
Use a metal tape measure.
For funky-shaped windows, measure both sides to catch any quirks.
Step 2: Mark Bracket Positions
Why it matters:
This step keeps your blind level and rolling like butter.
How to do it:
- Hold the brackets inside the top corners of the window frame.
- Mark the screw spots with a pencil.
- Check they’re level using a spirit level.
- Adjust before drilling.
Pro tip:
Keep those pencil marks light so you can wipe them away later.
Step 3: Install Brackets
Now the fun starts.
How to do it:
- Drill pilot holes where you made your marks.
- Screw in the brackets firmly.
- Make sure they’re straight and snug.
Safety tip:
Gloves on. Goggles on.
And for goodness’ sake, don’t wobble on that ladder.
Step 4: Attach the Roller Blind
Here’s where it all comes together.
How to do it:
- Pick your chain side. Left or right your call.
- Clip the roller tube into the brackets. You’ll hear a click.
- Test it. Spin it. Make sure it rolls freely.
Pro tip:
Do a quick test run before calling it done. Saves you a re-do later.
Step 5: Install the Chain Mechanism
That little chain?
It’s your new best mate.
How to do it:
- Attach the chain loop to the frame.
- Fix the safety device (especially if you’ve got kids or pets).
- Give it a gentle pull to check it rolls smoothly.
Pro tip:
Keep the chain taut and neat. No droopy chains allowed.
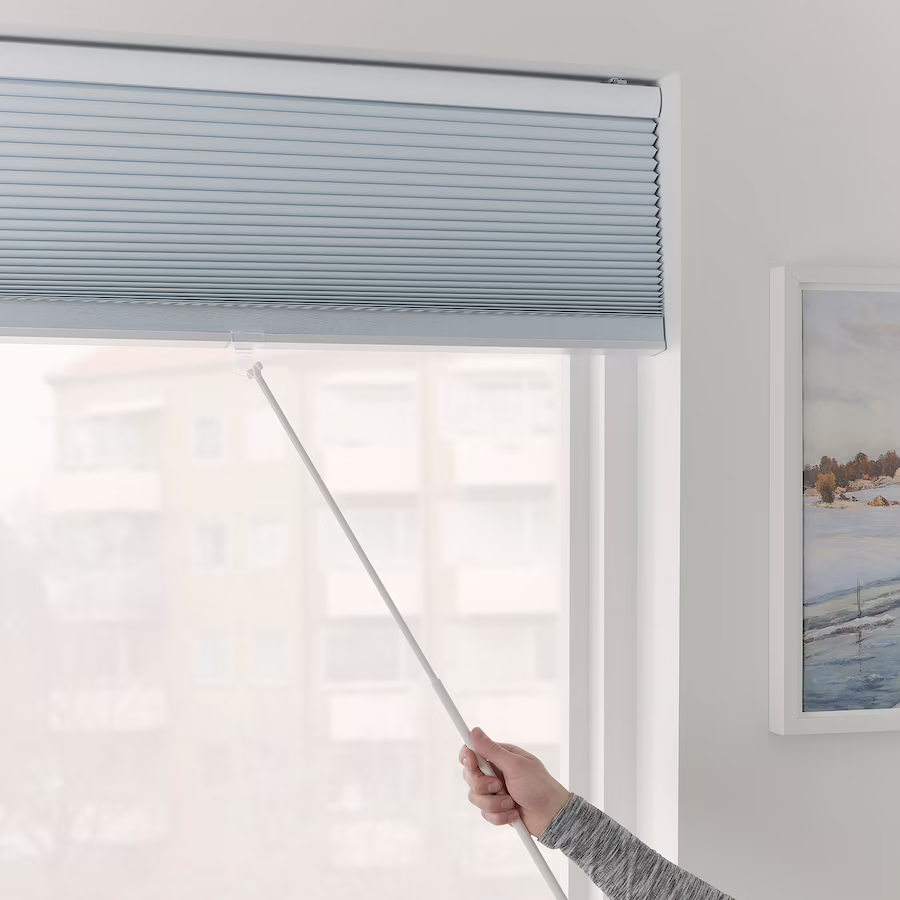
Step 6: Test the Blind
Moment of truth.
How to do it:
- Pull the chain to raise and lower the blind a few times.
- Check it’s rolling evenly.
- If it looks off, tweak the roller tube slightly.
Pro tip:
Tiny adjustments make a big difference.
Step 7: Make Final Adjustments
You’re almost done.
Optional but worth it:
- Adjust the tension so the blind rolls like a dream.
- Make sure it sits flush against the frame to block all light.
- Give it a quick clean, fingerprints and dust are gone.
Common Installation Mistakes to Avoid
- Incorrect Measurements: Double-check before drilling. Always.
- Unlevel Brackets: Wonky blinds = sleepless nights.
- Loose Screws: Tighten them up for a stable finish.
- Skipping Safety Devices: Always install that chain tensioner. Safety first!
Troubleshooting Tips
- Blind not rolling right? Check alignment and bracket placement.
- Fabric wrinkling? Roll it back neatly and try again.
- Chain catching? Make sure the chain mechanism is secure and straight.
Benefits of Installing Blockout Roller Blinds
Here’s why everyone’s obsessed with them:
- Privacy & Light Control: Keep nosy neighbours out and sunlight under control.
- Energy Efficiency: Stay cool in summer and warm in winter.
- Modern Aesthetic: A clean, minimal look that fits any decor.
- Durability: These blinds are built to last with little upkeep.
Ready to Upgrade Your Home?
Installing blockout roller blinds doesn’t need to be complicated. Follow these steps, add a bit of patience, and you’ll have a room that looks brighter, smarter, and way more comfortable.
If you want to find the best roller blinds for home interiors, check out this guide.
Curious about mixing styles?
Learn more about dual roller blinds.
Not sure what type fits your space?
Browse different types of roller blinds.
And if you want to know the team behind the magic, meet us at Brighter Blinds & Doors.
Because great blinds don’t just look good. They make you feel at home.