Elegant and customizable roller blinds improve home privacy, create style, and conserve energy in any home. However, they are manageable to fix within a DIY setup if you have some basic things, namely, tools, construction materials, and instructions. The guide will lead you in an orderly manner on how to install custom roller blinds from buying the tools, mounting brackets and finally functionality test.
A list of tools and materials necessary for installation of a custom blind.
Before you begin, ensure you have the following tools and materials on hand:
- Measuring tape: Use a tape measure to take the width and length of window frame.
- Pencil: To mark mounting bracket positions
- Drill: Screw pilot hole drilling.
- Screwdriver: Securing brackets to a window frame.
- Level: To ensure brackets are level
- Stud finder: Identification of studs on the wall (optional).
- Safety glasses and gloves: This is a way of protecting yourself from dust and debris.
Pre-Installation Preparation
Measuring the window dimensions:
- Measure your window frame along with any trim or molding, accurately.
- Note down the dimension either in mm or cm.
Choosing the right type of roller blinds:
- Look at your room’s décor before deciding on how you will make your roller blinds.
- Choose the appropriate mounting option: inside mount or outside mount.
- Select the desired control mechanism: manual, cordless, or motorized.
Ensuring the surface is clean and suitable for installation:
- Remove dust, dirt, or debris from the window frame and surrounding area.
- Make sure that the surface is flat and even in order for adequate brackets adherence.
- Identify the mounting location: they can be placed inside the window frame {known as inside mount} or on the wall above the window {called outside mount}.
Step-by-Step Installation Guide
Mounting brackets placement:
- Determining optimal bracket positioning:
- Make sure that for inside mount blinds your brackets are around three to four inches away from each sill.
- Place the brackets a little bit wider than the width of the curtain for outside mount blinds.
- Marking and drilling holes:
- Make sure brackets are horizontal using a level.
- Make the marks where the screws will be attached and inscribe them on the window frame or wall.
- Mark the positions and drill a set of pilot holes.
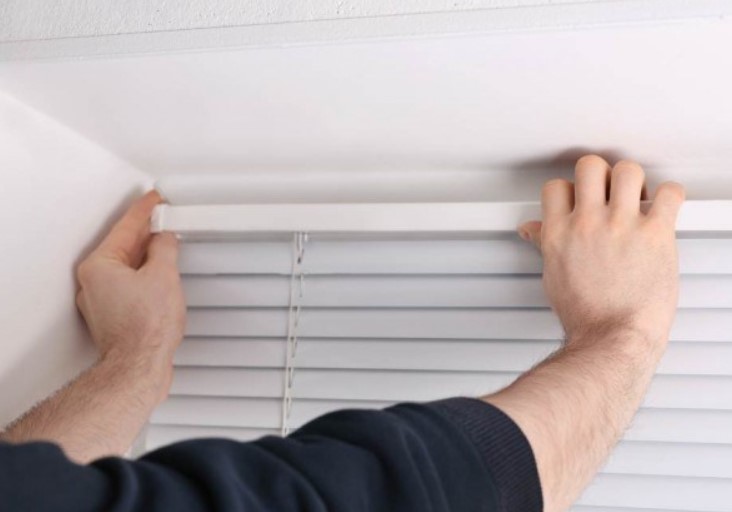
Attaching the roller blinds:
- Inserting blinds into brackets:
- Make sure you handle them carefully as you move upwards in order to make sure the brackets line up correctly on the mounting holes.
- Ensure that they are held firmly and push them well into the brackets.
- Securing blinds in place:
- Insert the screws and fix the brackets on the window frame or wall.
- Make sure the brackets are tight by screwing them strongly.
Testing functionality and adjustments:
- Checking smooth operation:
- Adjust the roller blinds up and down so that it can move well and levelly.
- Scrutinize whether there are any frictions that may inhibit the movement of the blinds, and if so then check on it.
- Making any necessary adjustments:
- Ensure that the blinds are uniformly level by repositioning the brackets and tightening the screws if necessary.
- Adjusting the tension on your roller mechanism will tell you if your blinds are too tight or too loose.
How should roller blinds be fitted?
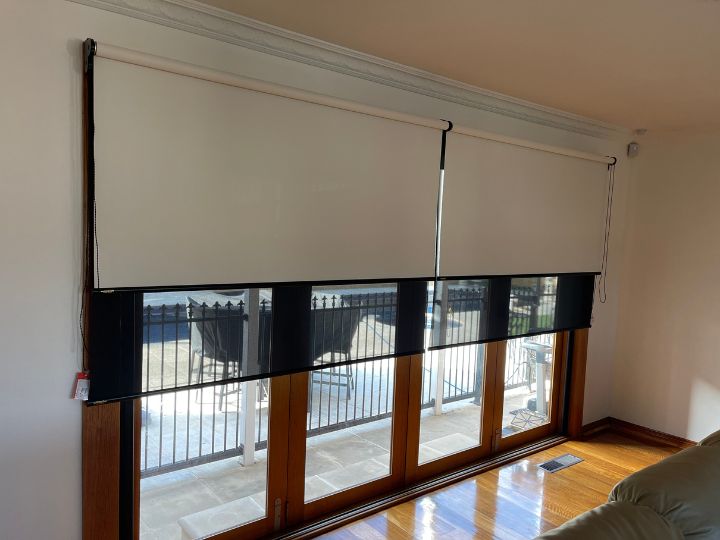
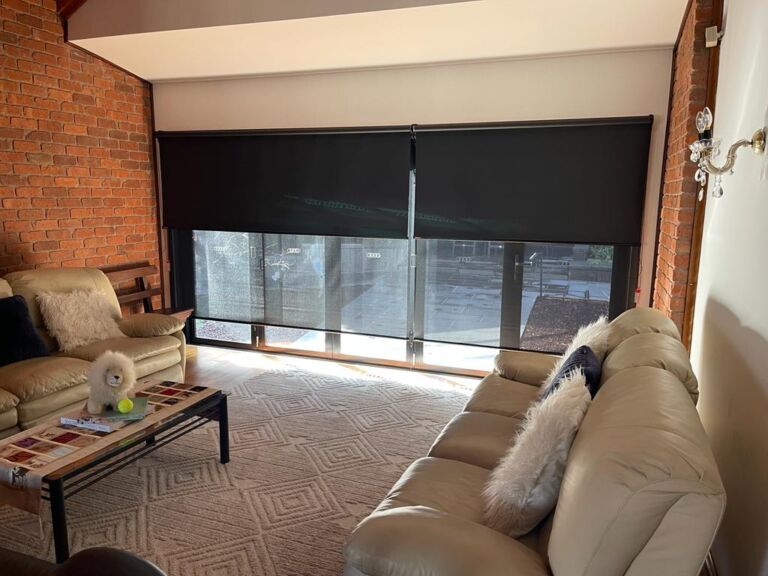
Roller Blinds come in two types in, which case they are placed inside or outside the window recess. Interior mount blades that go into the window frame and exterior mount blades that get to be fixed onto the side of a wall upwards the window. You have to base your choice of a mount on the fashion of your window and how you would like your blinds to appear.
Here are the general steps on how to fit roller blinds:
Inside mount roller blinds
- Determine how wide and long is your windowpane.
- Scribe the locations of the fixing areas for wall brackets on window frame.
- Check that an alignment ruler is vertical, or use a level.
- Make small pilot holes at these marks and then drill bigger ones as well.
- Screw the bracket on the window frame.
- Press them into the blind brackets.
- Ensure that the blinds are operable evenly.
Outside mount roller blinds
- Calibrate your measuring stick to check the extent of space covered per rotation using a roller blind fabric.
- Make marks of bracket-mounting locations on the wall (on top of the window). Ensure that the brackets are horizontal using a level.
- Make pilot holes on the marks.
- Screw the brackets onto the wall.
- Hang down the roller blinds on the bracket.
- Make sure the blinds are functioning properly and uniformly.
Conclusion
Custom blinds installation is an easy task that could upgrade both the looks and efficiency of your windows. If you follow these steps correctly and use the right tools and raw materials, then you can install your roller blinds and enjoy their benefits for many years. However, if you experience challenges during the connection or you have fears about the process involving installing such components then it is advisable that you seek the help of experts.